Elements in Harmony IV

36"f/4.5

If it's up there, it's in here.

April, 2006 - May, 2007


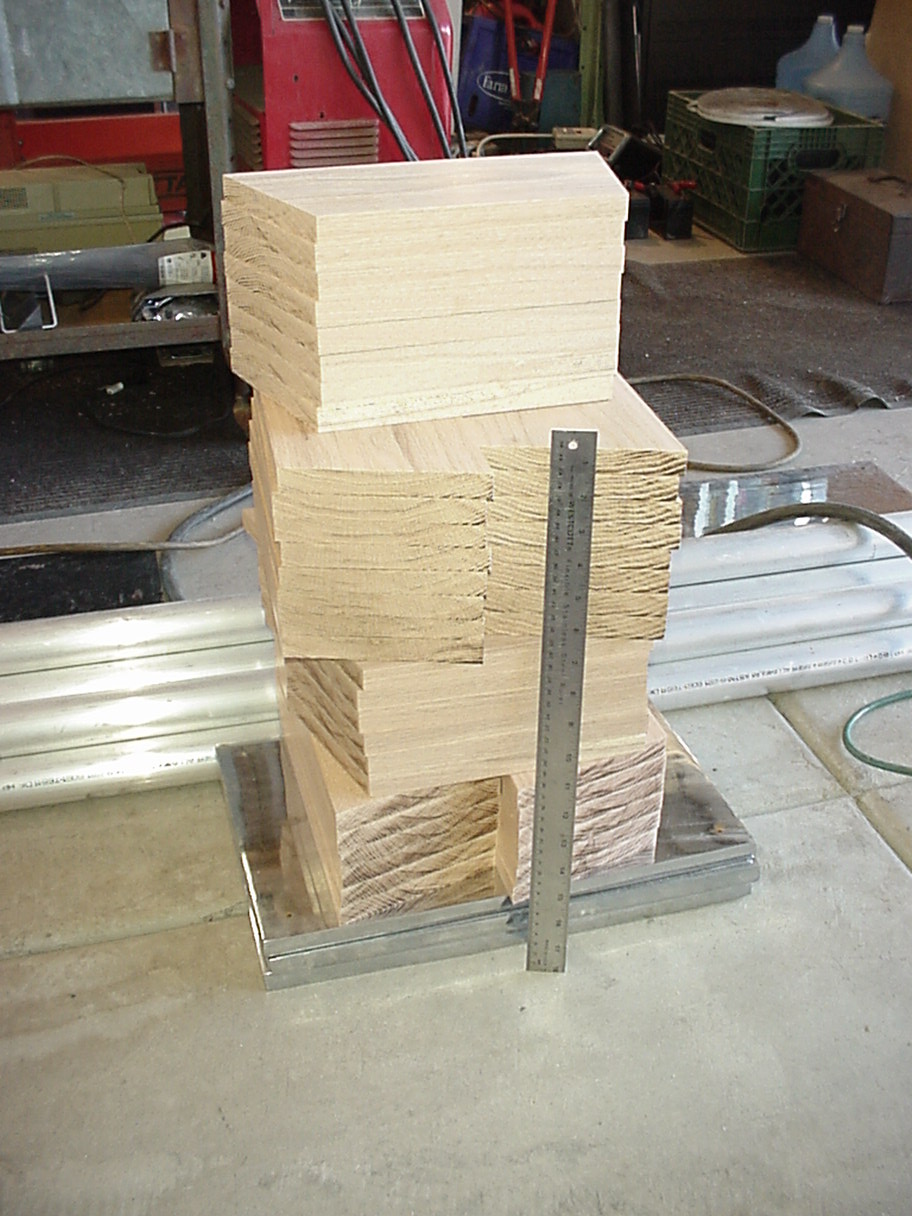
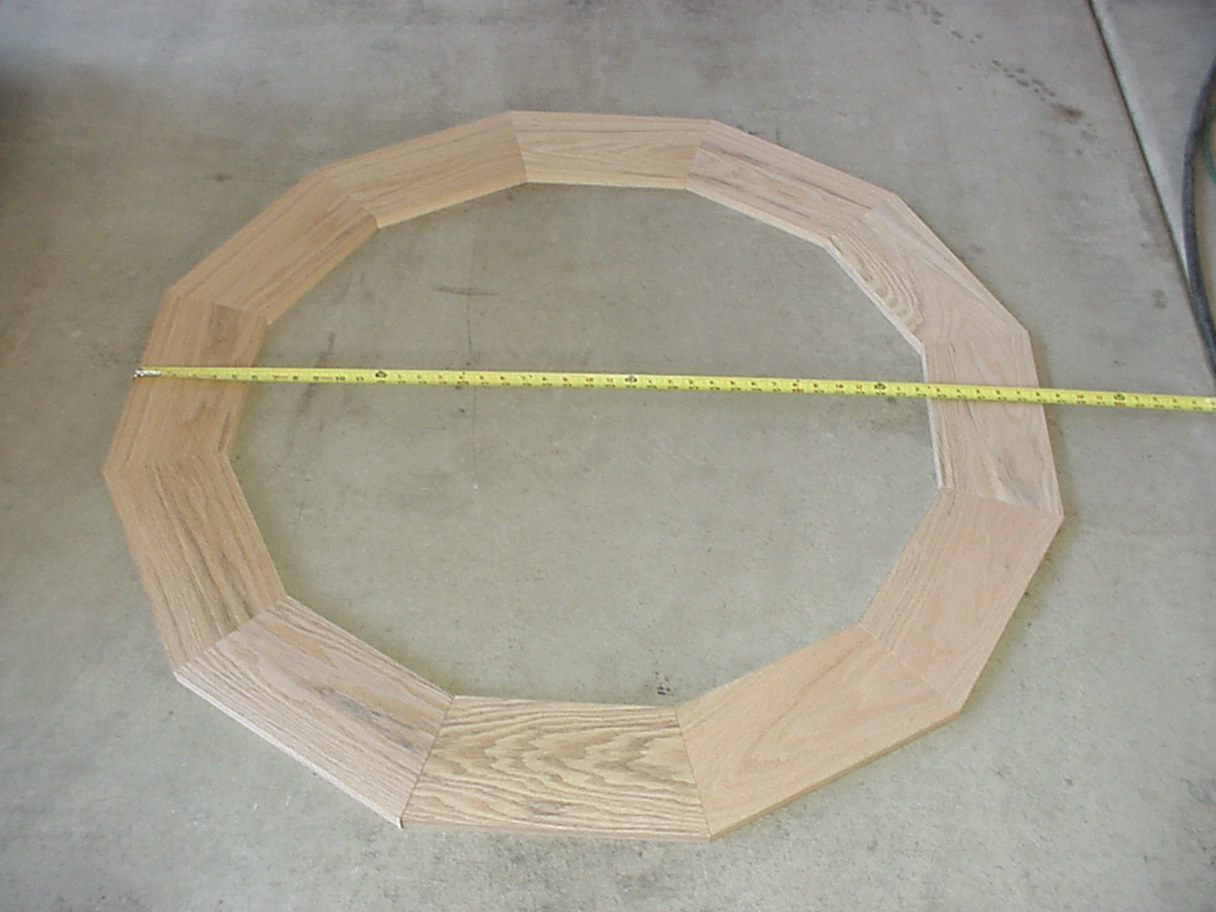
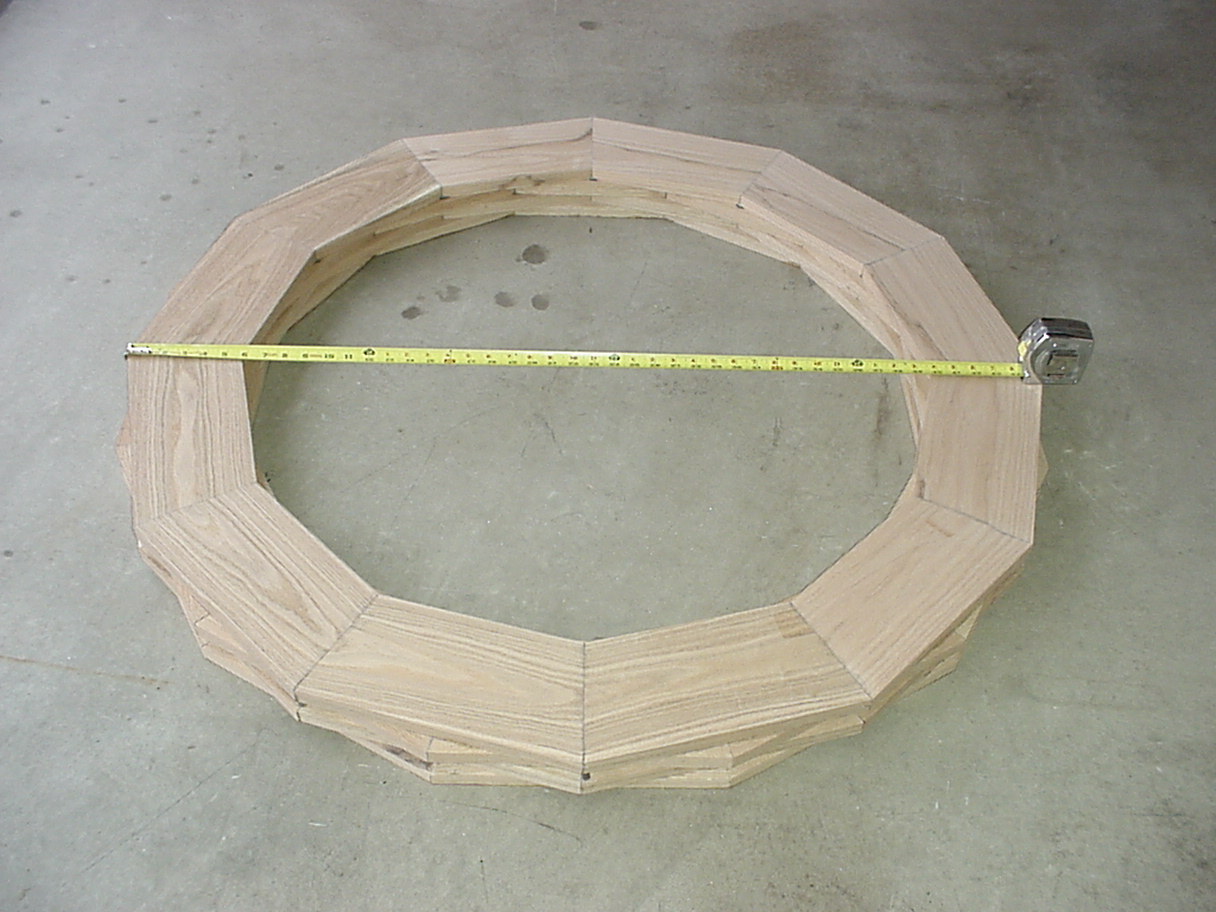
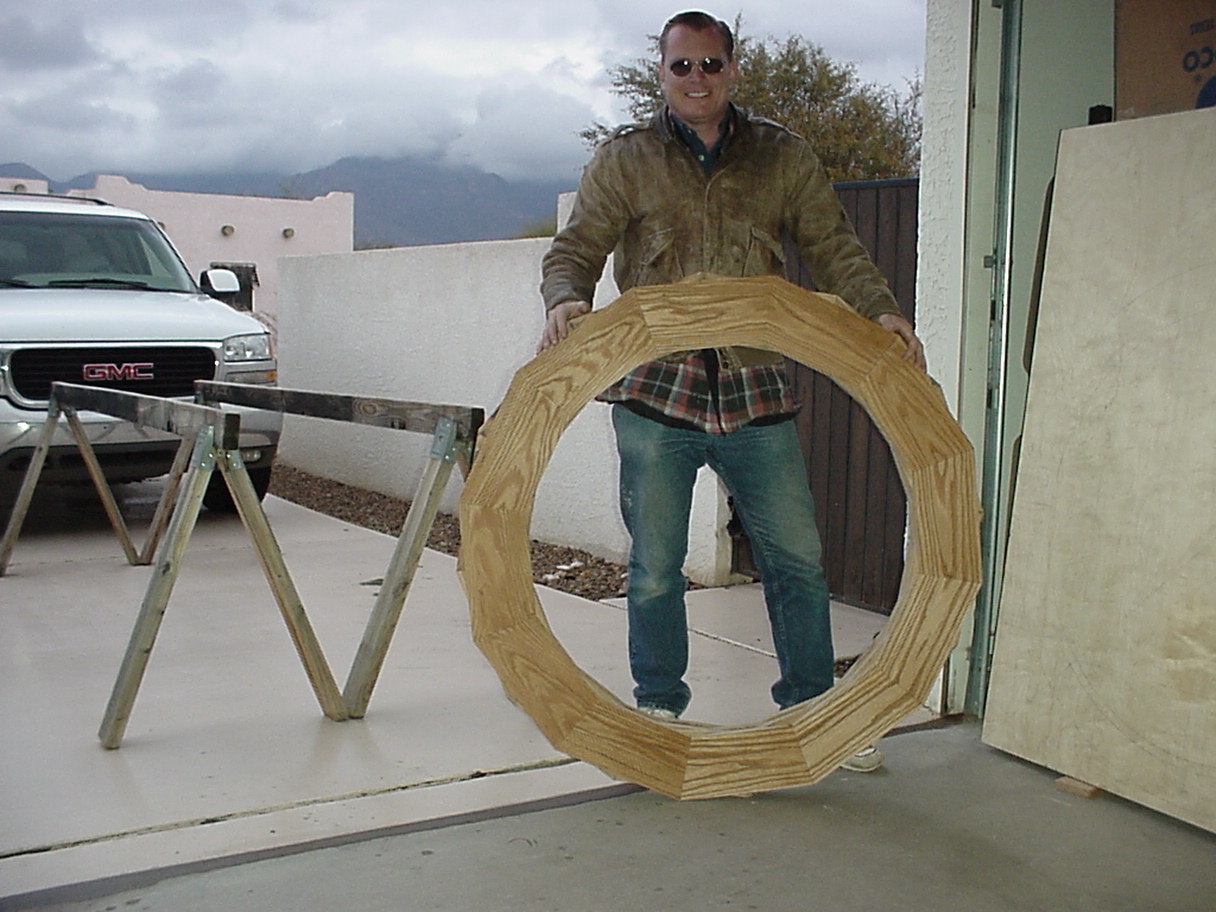
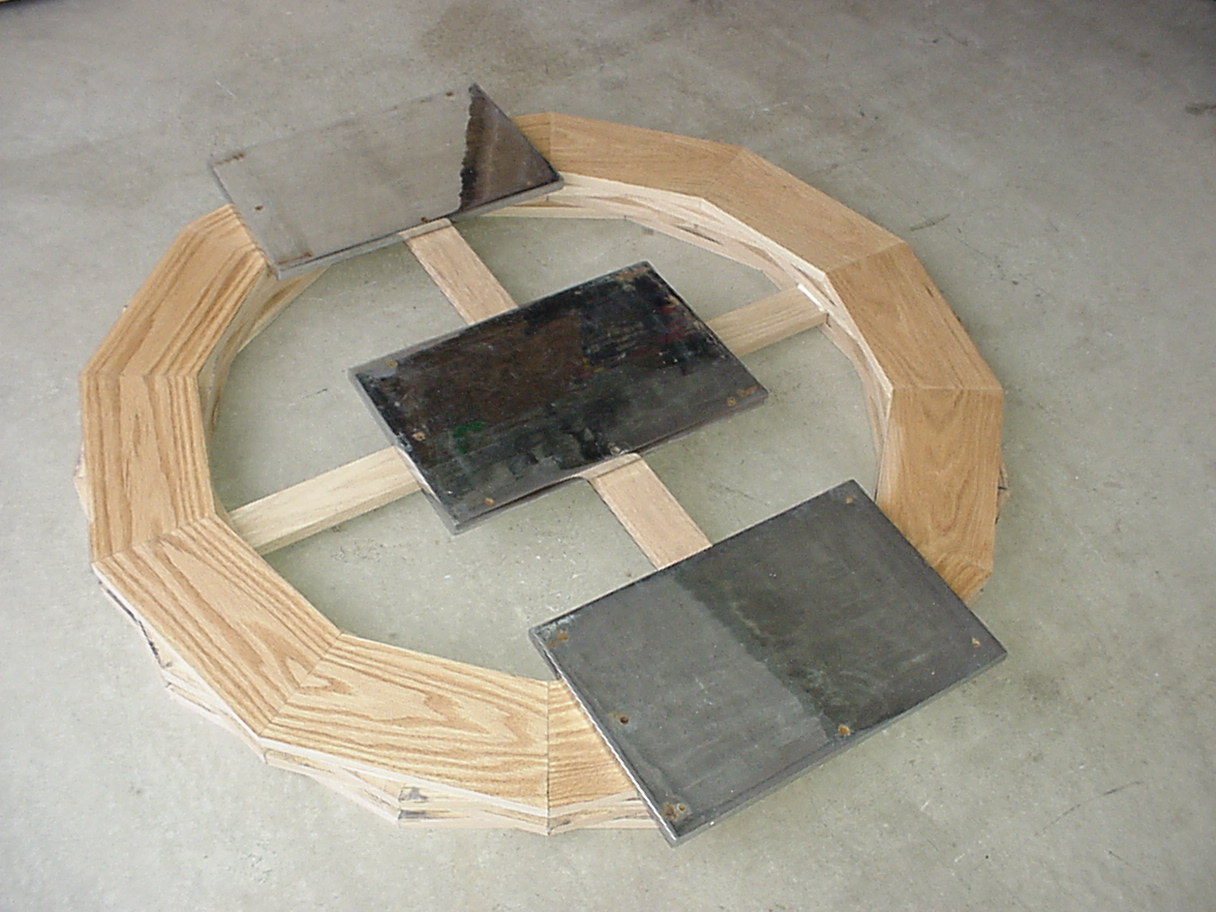
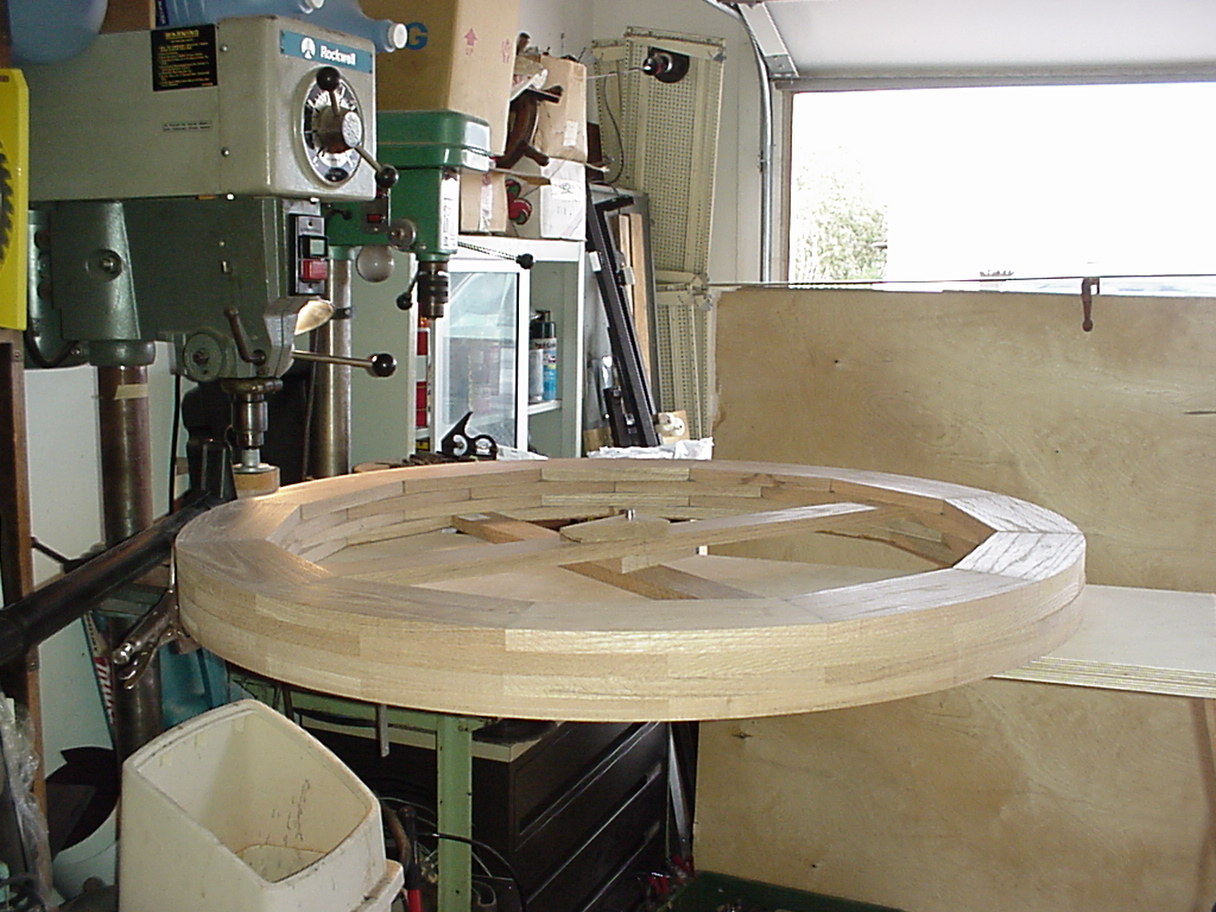
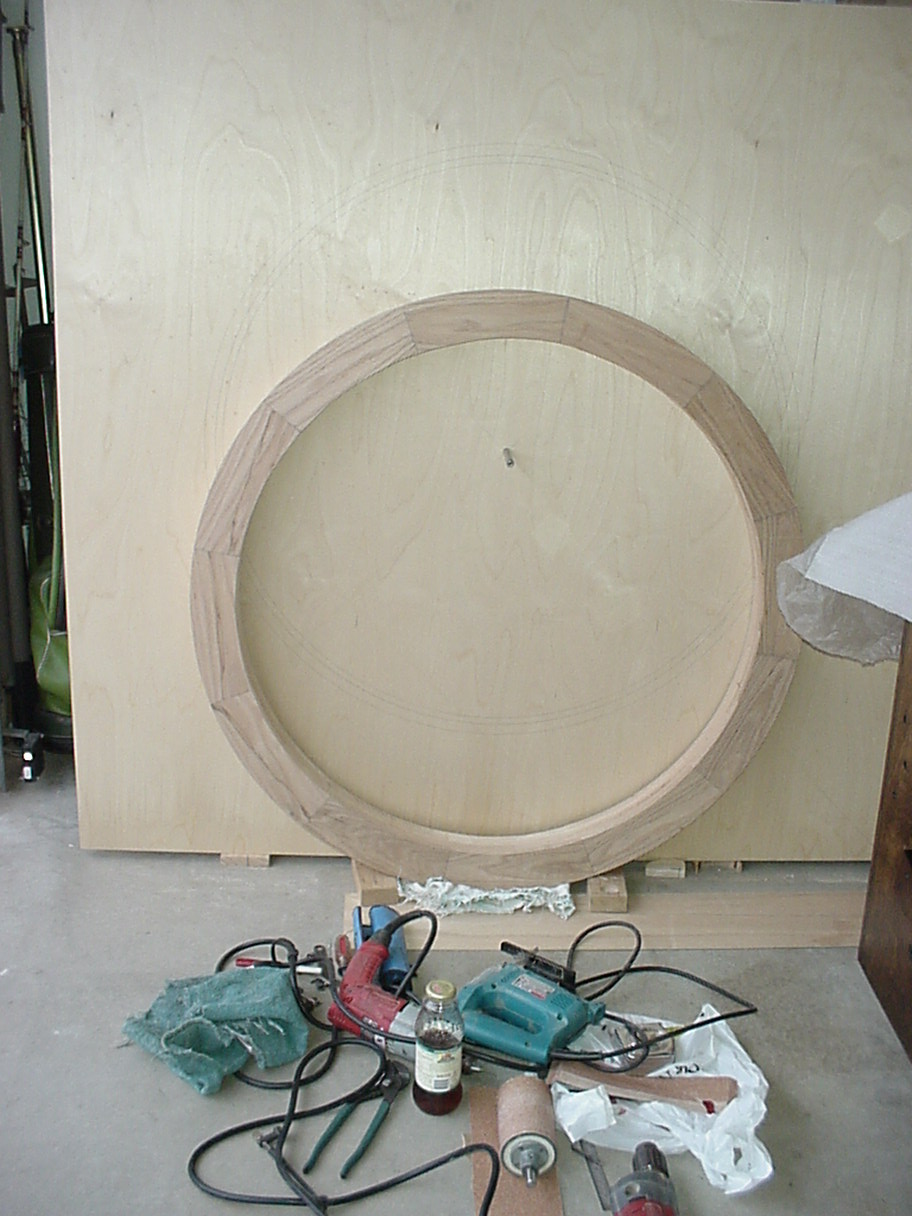
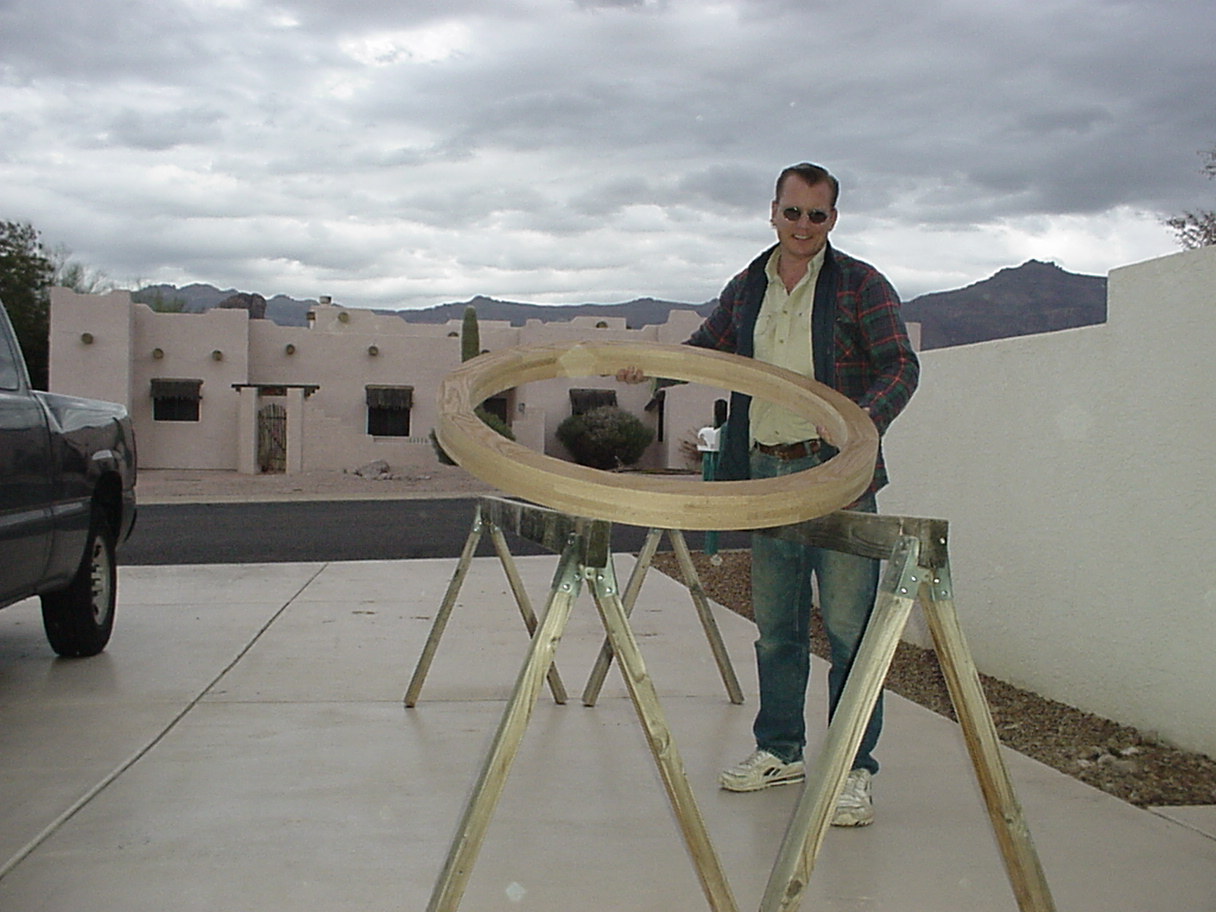
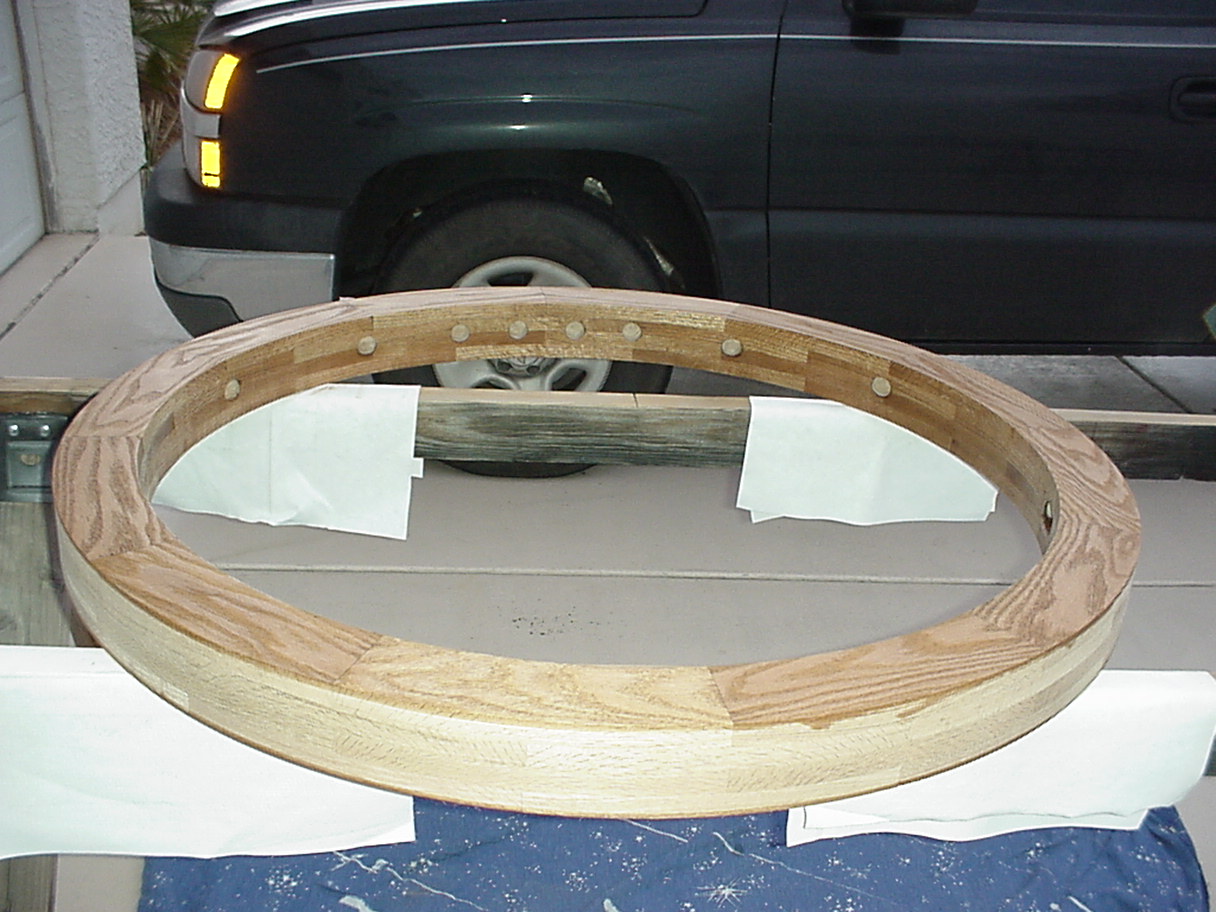
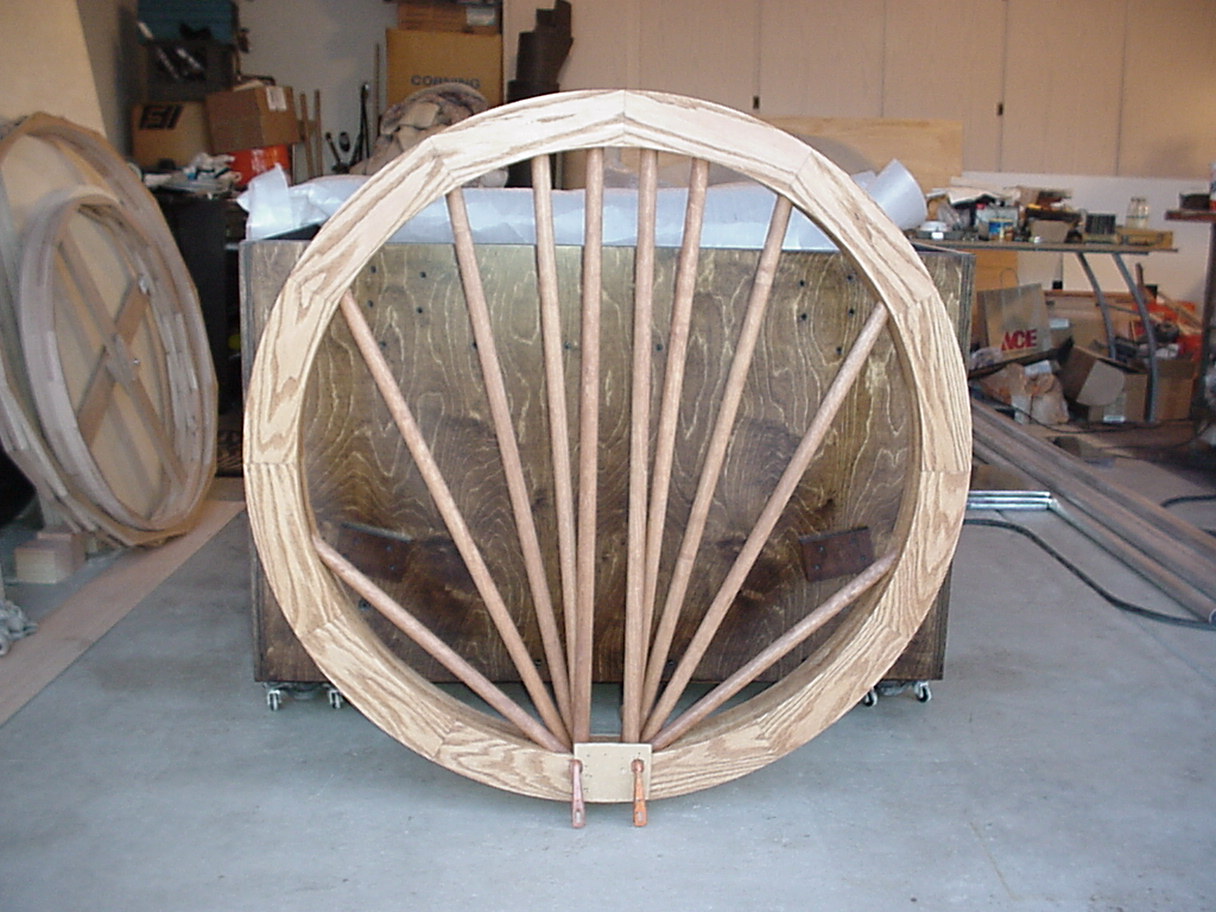
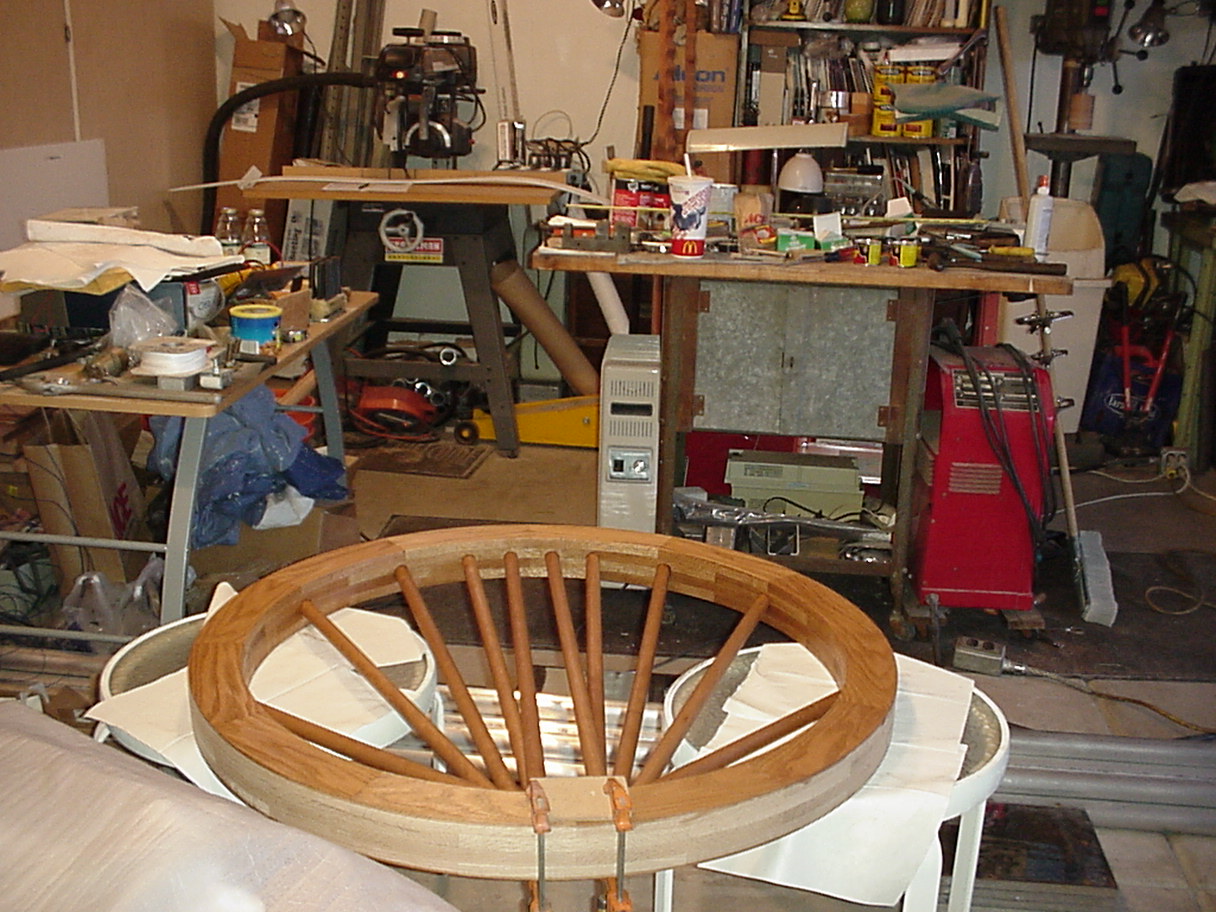
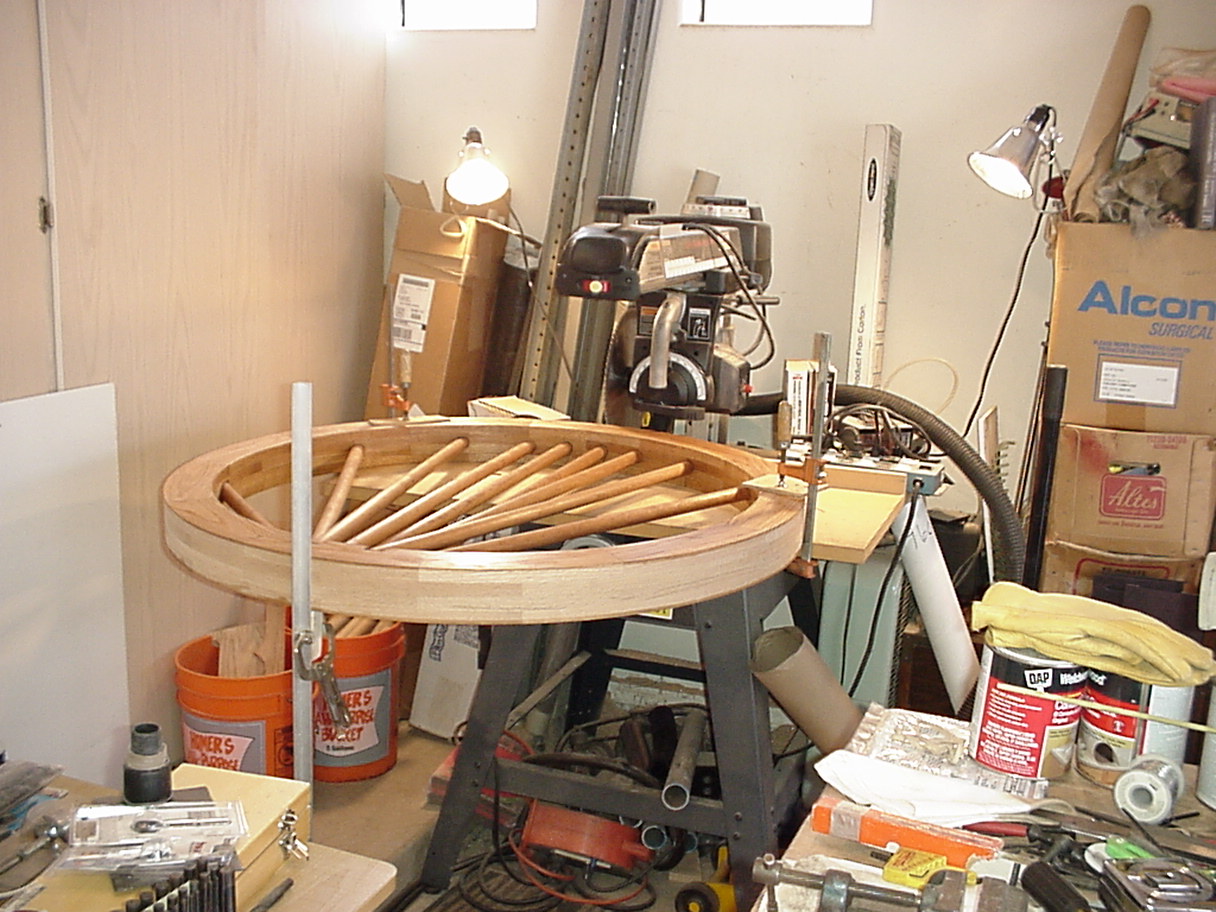
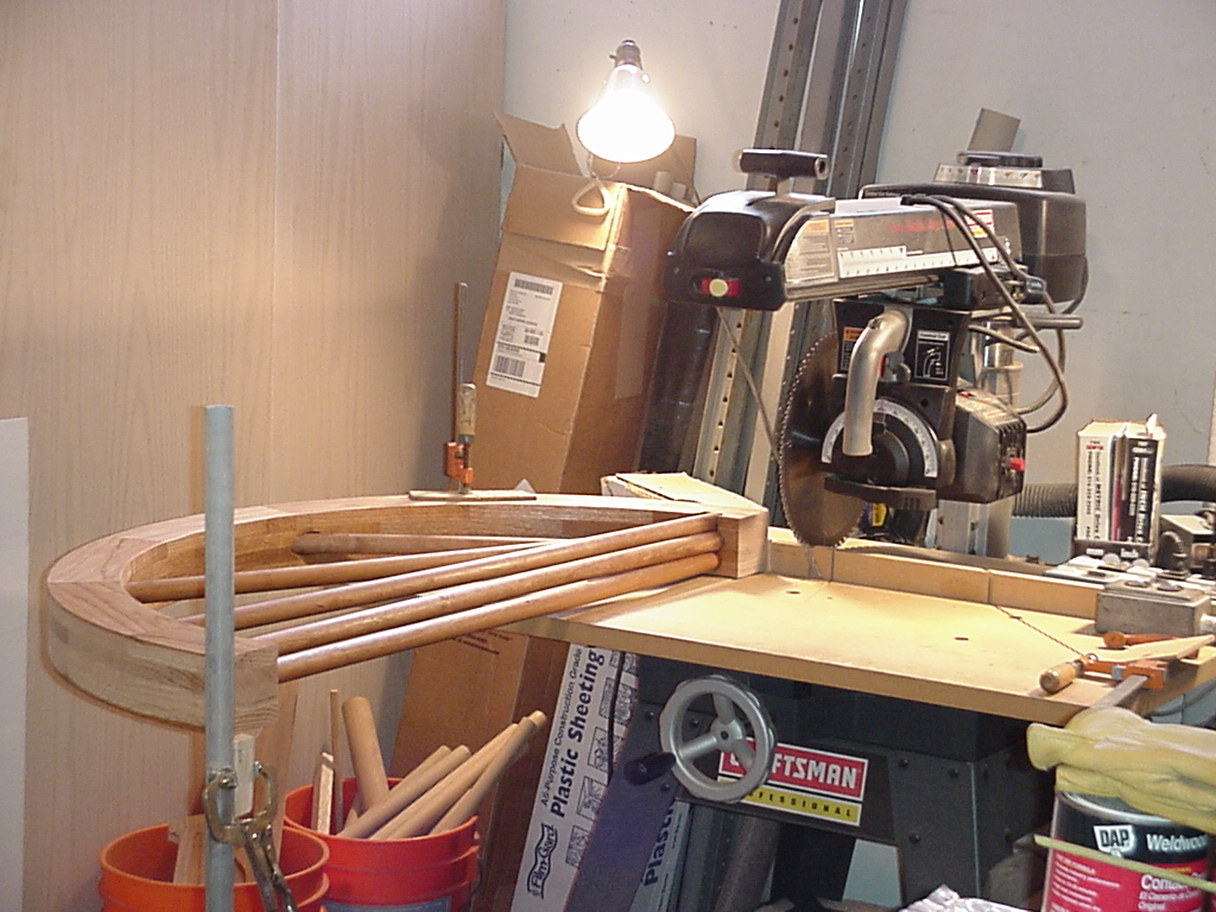
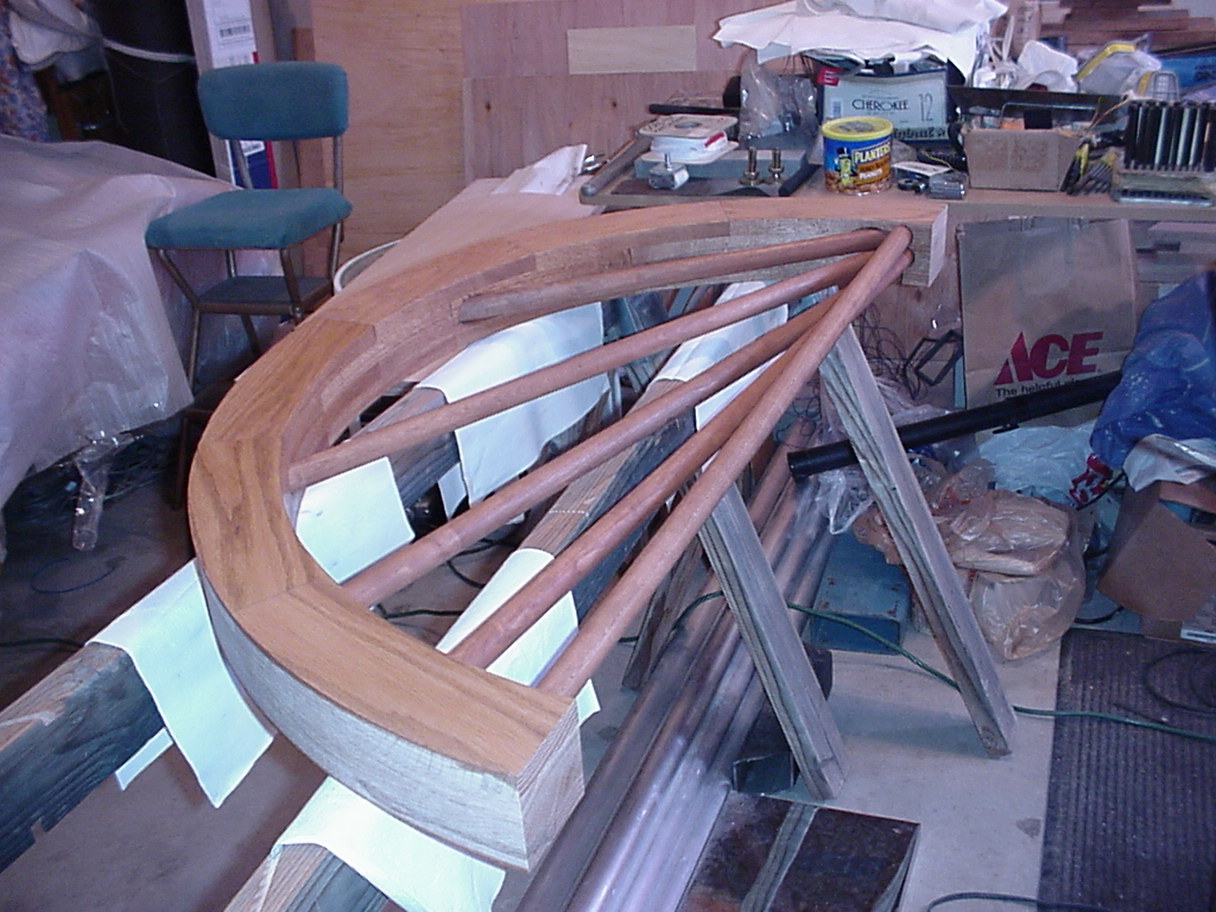
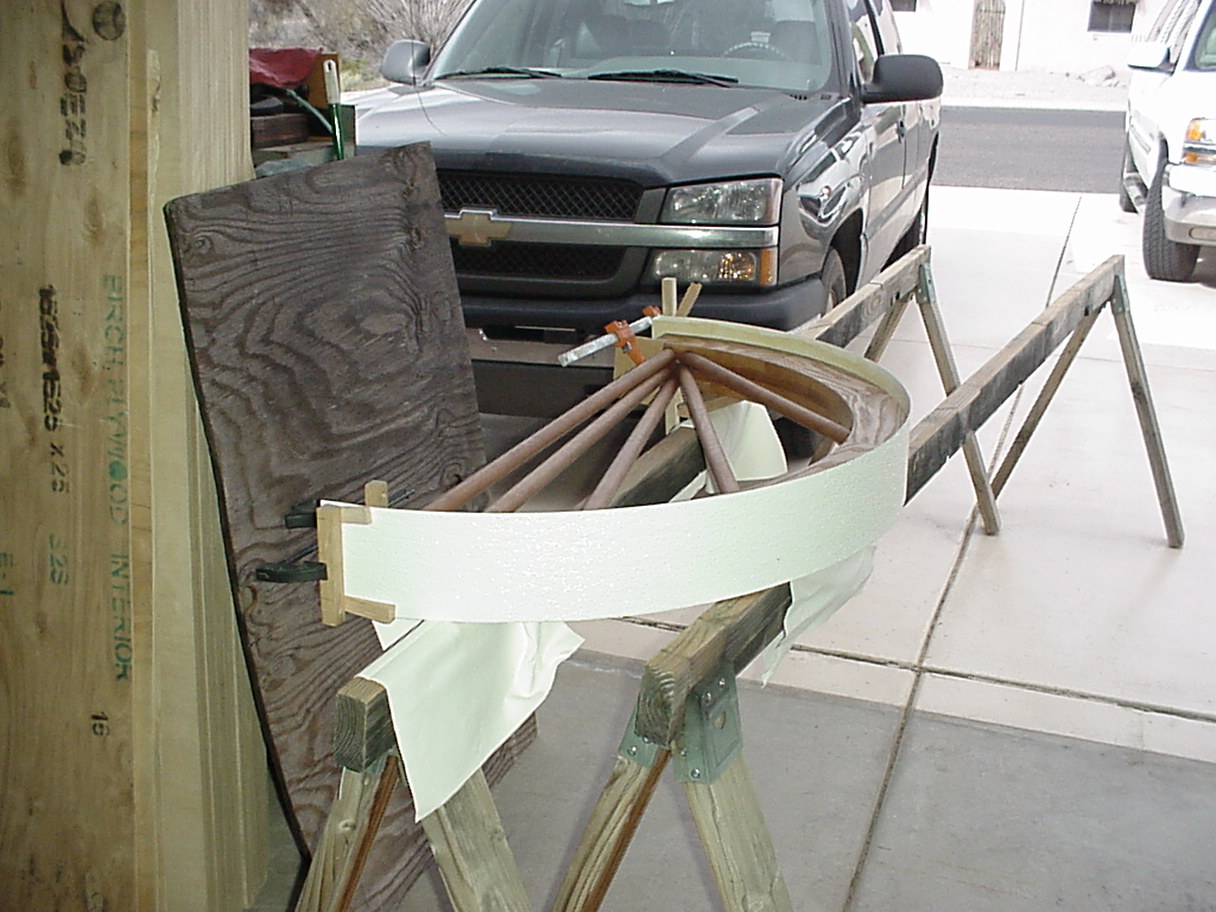
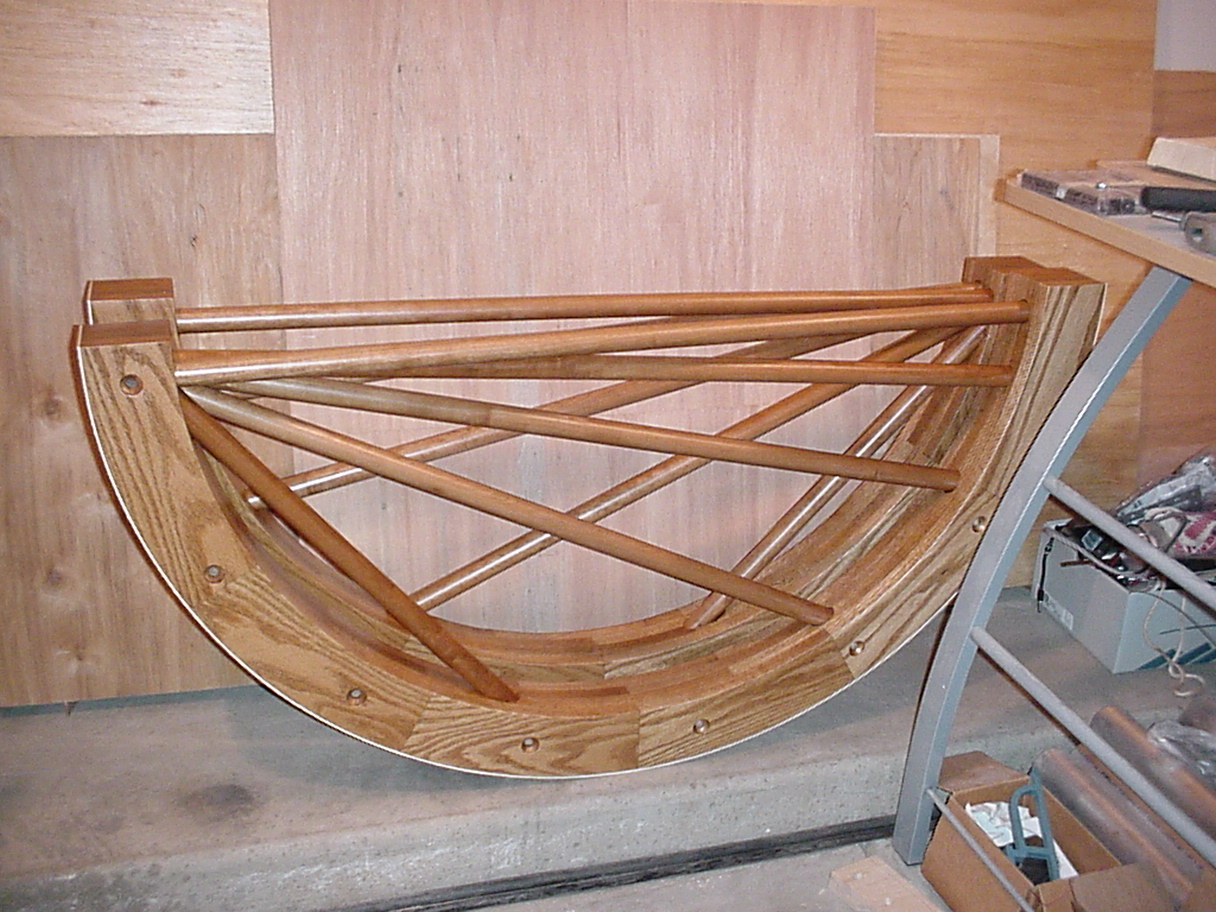
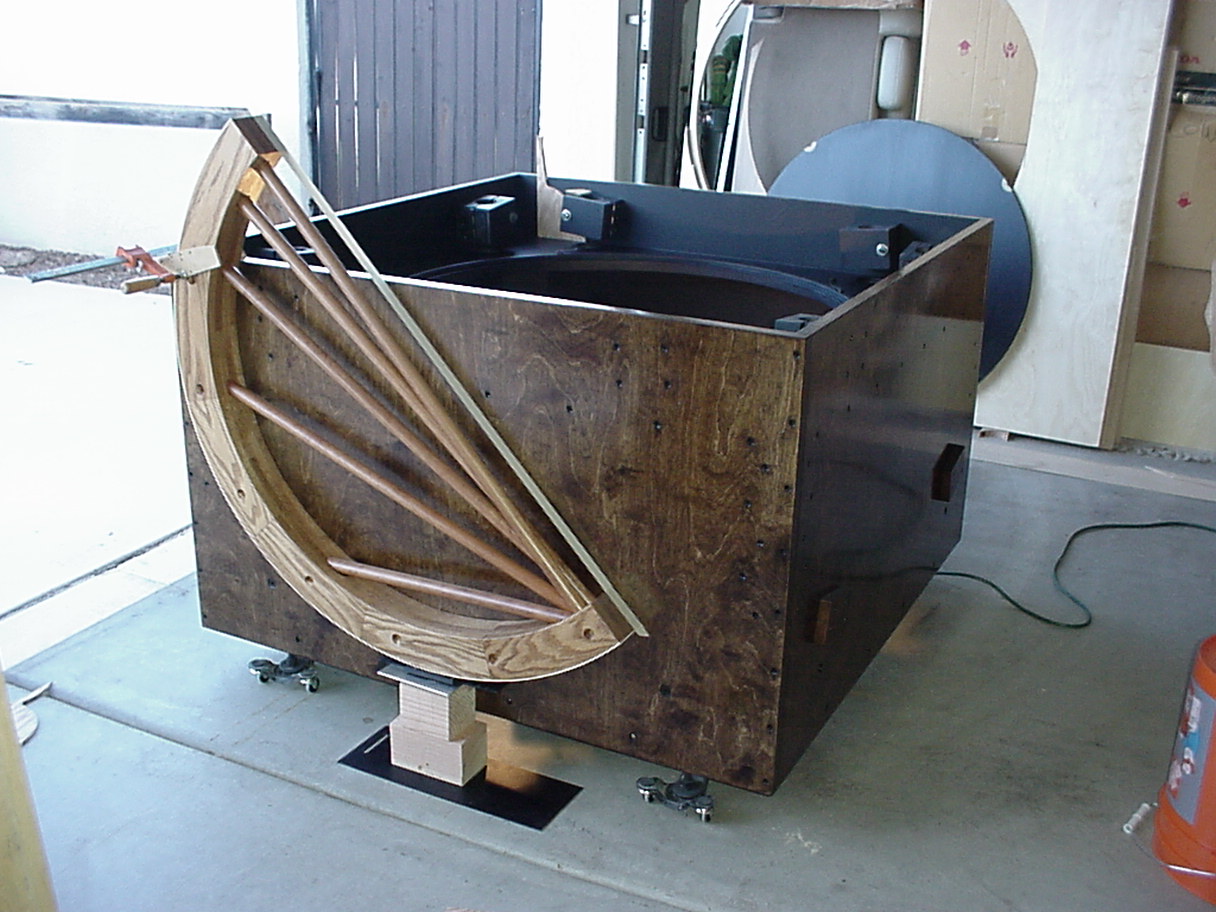
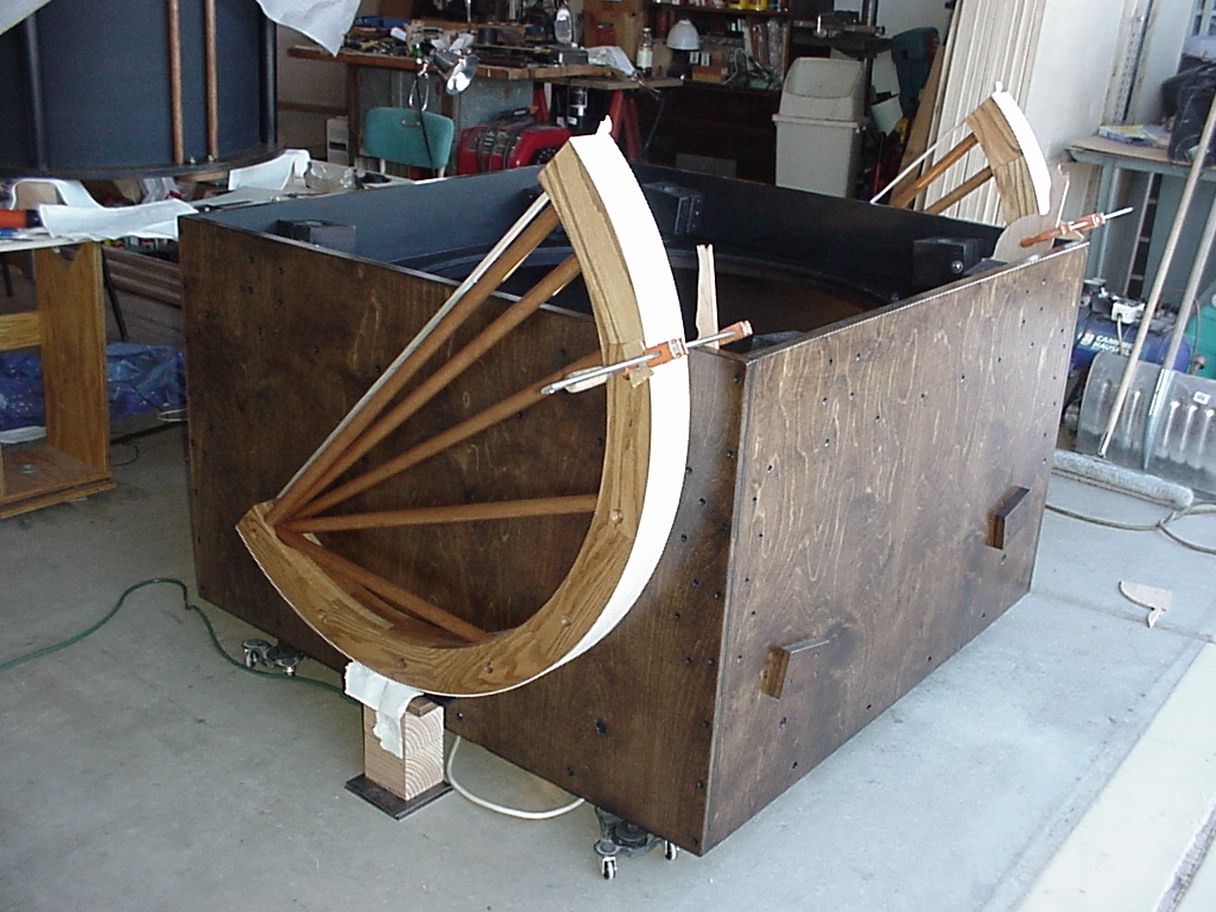
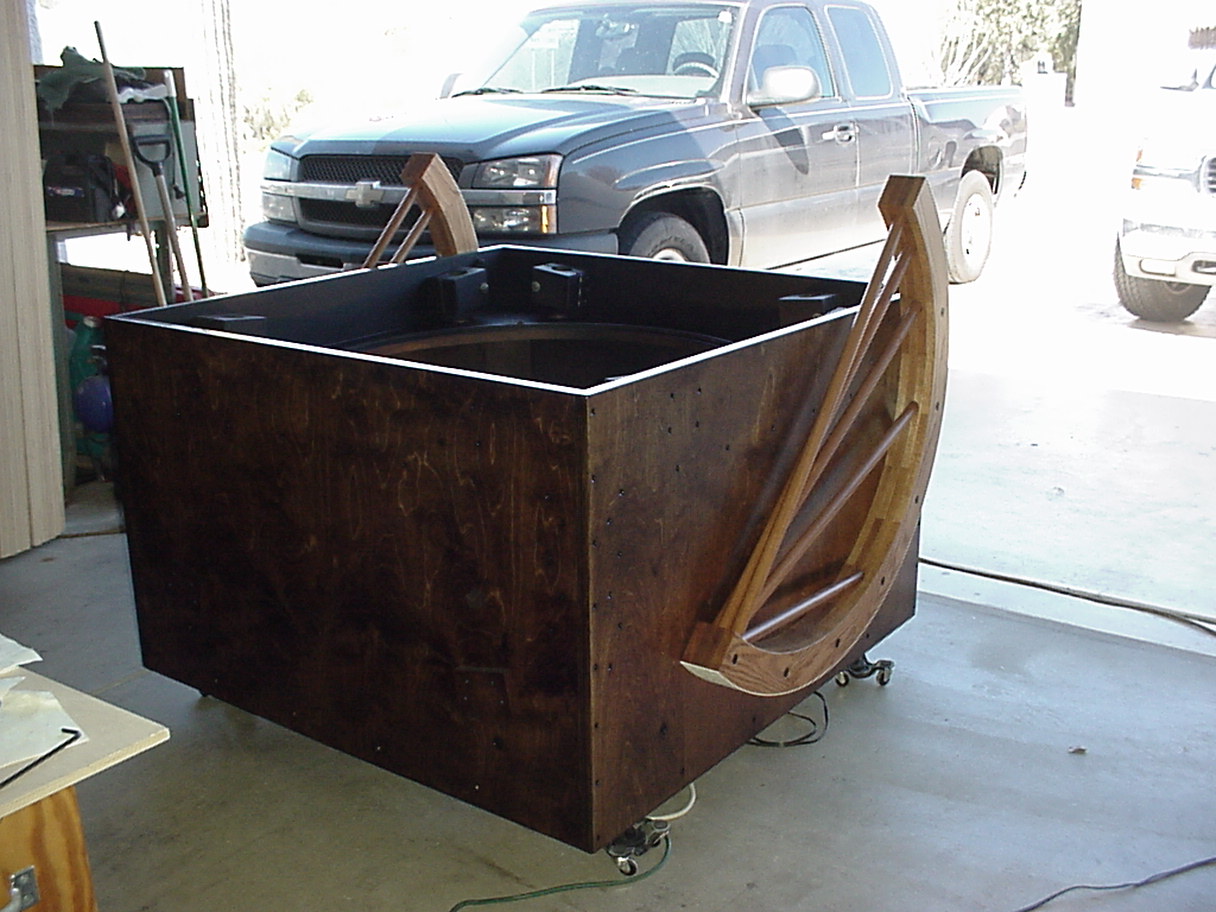
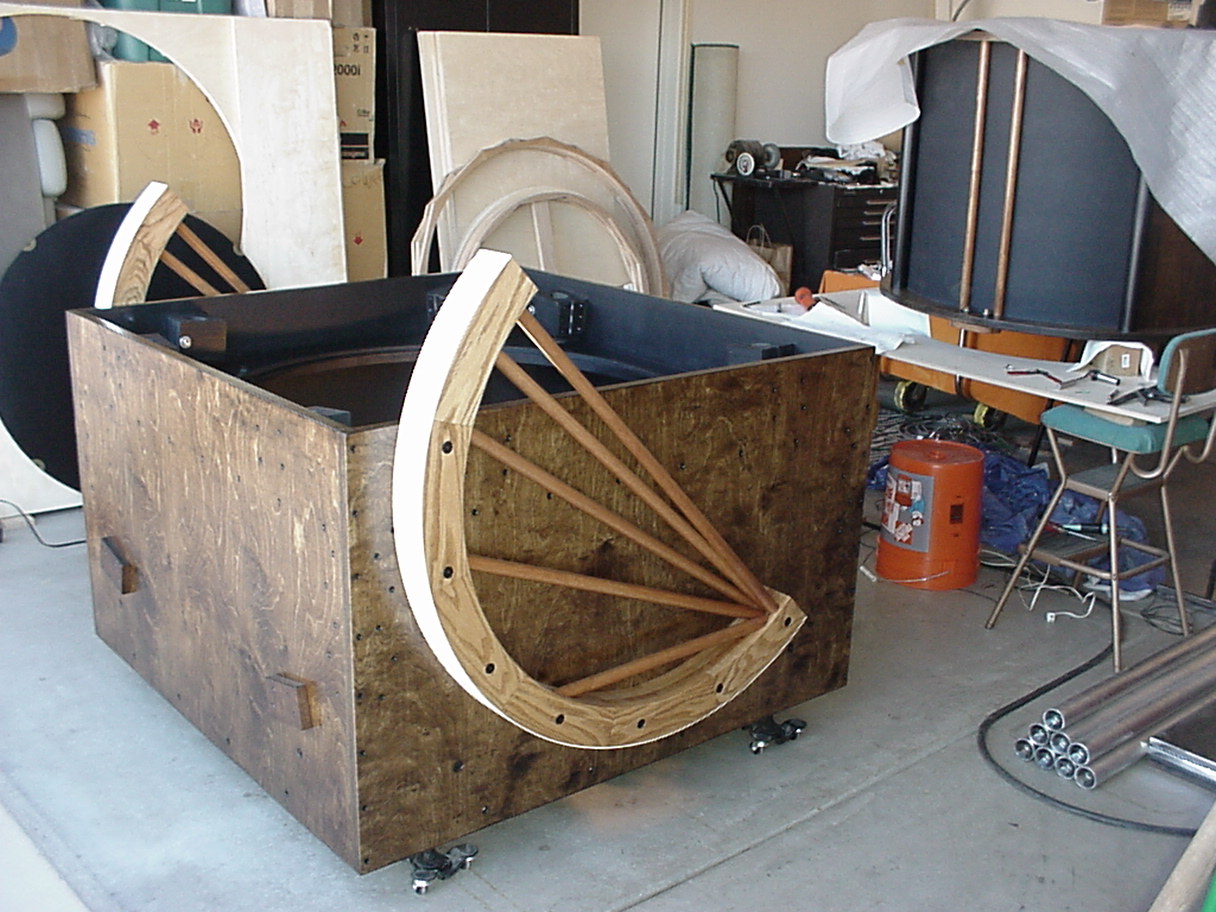
Now for the Altitude Bearings....


48 feet of 6" wide by 3/4" thick Oak board went into making the bearings. Precision 15 degree cuts were made on both ends to eventually make a four board thick alternating the cuts of each layer for a 3" thick by 3" wide altitude bearing.

1 foot long oak boards for alt bearings.jpg

___________________________________________________________

The first layer was just placed next to one another to see the full size and make sure the angles were correct....


Oak Alt Bearng Ring.jpg

___________________________________________________________

I found a very flat piece of concrete in my garage and used teflon sheet at each joint to keep the weights from sticking. A rope is tightened around the perimeter to keep the joints tight and allow me to clean off excess glue before placing the weights...


First layer of Oak Alt Bearing curing.jpg

___________________________________________________________

All four layers done....


3 inch Oak blank.jpg

___________________________________________________________

I'm in there for scale.... Cold and rainy but the joints are nice and the stain took well without the glue interfering....


Me and the Oak blank1.jpg

___________________________________________________________

I needed an axle for this wheel for grinding it round. It first was routered round on the outside....


Oak Ring Axle Curing.jpg

___________________________________________________________

50 grit garnet, awesome stuff.... I expected to spend days grinding but two hours later and just a few sheets of boulder-sized garnet sandpaper, that Oak got chewed up....


Grinding the Bearing.jpg

___________________________________________________________

Once the outside was ground nicely, the inside diameter was routered and hand-ground with garnet....


3 inch Oak Altitude Bearing2.jpg

___________________________________________________________

Nice looking ring....


3 inch Oak Altitude Bearing.jpg

___________________________________________________________

All that is not 3 inch Oak Altitude Bearing....


All that is not 3 inch Oak Altitude Bearing.jpg

___________________________________________________________

Next came laying out the Cherry spoke pattern.... I, to this day 15+ years later, still love the look of the 20" scope, so similar to it, I created massive bearings to scale....


Cherry Spokes Layout.jpg

___________________________________________________________

Fostner bits are great.... Once I knew the angle each spoke would enter the Oak, I gave it the old college try....


Spoke Holes.jpg

___________________________________________________________

The clamps are holding the cluster of rods which fit in a hidden pocket where they radiate from....


Stained Bearing Ring.jpg

___________________________________________________________

So far I'm pleased with the outcome....


Stained Bearing Ring4.jpg

___________________________________________________________

I needed to let things cure so that when the bearing was split into two pieces both would be identical tip to tip. In use the bearings have more spokes towards the end that would not have the box to bolt it to, and therefore would assist in compression when the scope is horizontal (form follows function).... Again calculations show this will not flex of the unsupported section more than 0.0002" in compression. So now it was time to split the bearing ring....


Bearing Split Setup.jpg

___________________________________________________________

After sweating bullets, I made the cuts....


Splitting the Bearing.jpg

___________________________________________________________

Slow cuts went very straight. Freud blades are the best....


Splitting the Bearing3.jpg

___________________________________________________________

I prefer the FRP (Fiberglass Reinforced Plastic) and Teflon combination. I've used other scopes with different materials but I think this configuration is better. And folks that have used my scopes agree, it's like butter; no sticking....


Laminating FRP.jpg

___________________________________________________________

I actually was quite pleased with how the bearings turned out.. There are a couple of marks and a little blood on them, but I think they are quite beautiful....


Finished Bearings.jpg

___________________________________________________________

Time to bolt them into place..., identically....


Bearing Attachment Setup.jpg

___________________________________________________________

The measurement offsets from reference points say these are good to transfer punch and drill....


Yep looks the same.jpg

___________________________________________________________

Lookin' nice....


Bearings attached1.jpg

___________________________________________________________

I'm quite pleased with how things are coming along....


Bearings Attached.jpg

___________________________________________________________